
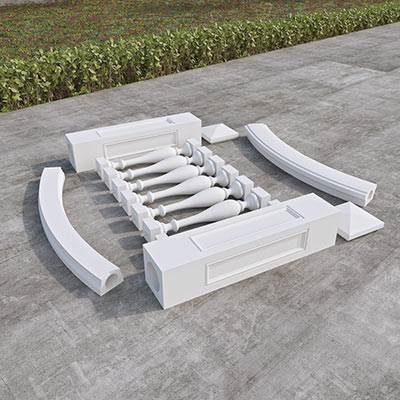

FACADE PROFILES
INSTALLATION
-
Mark upper cover of the cornice,
50 mm away from the edge.
-
Strike a line with a chalkline
between the marks on the cornice shelf.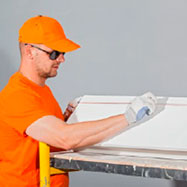
-
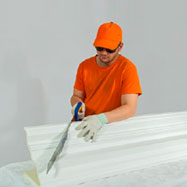
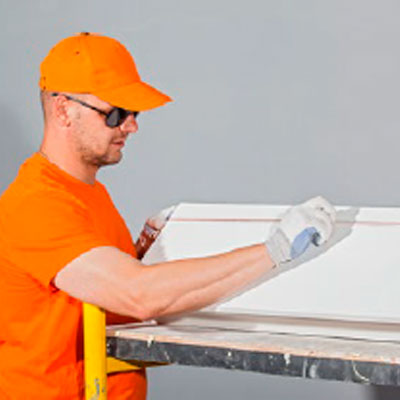
Cut the cornice cover as marked.
-
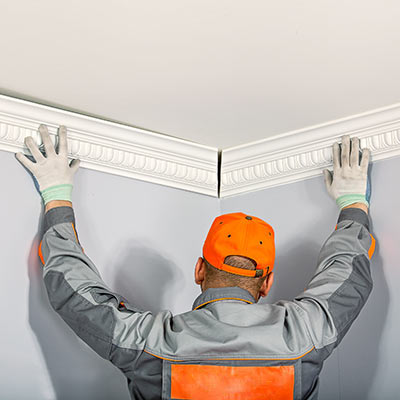
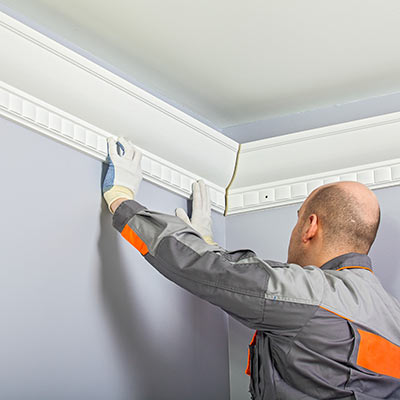
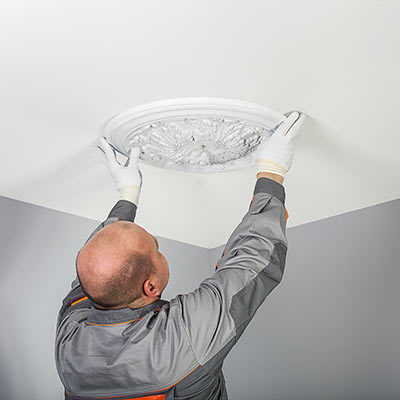
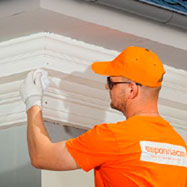
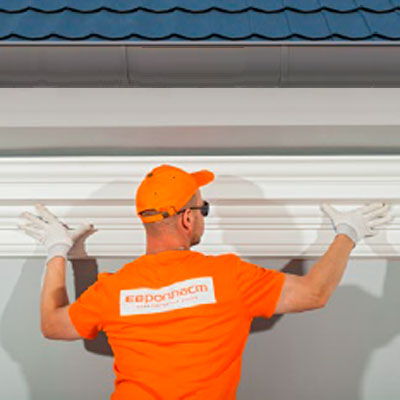
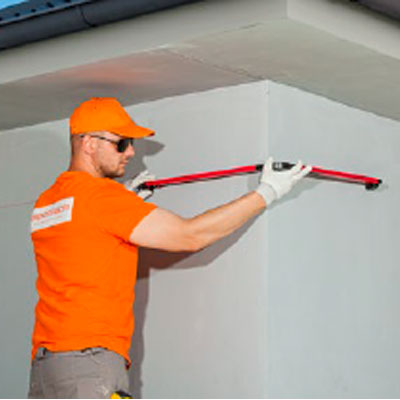
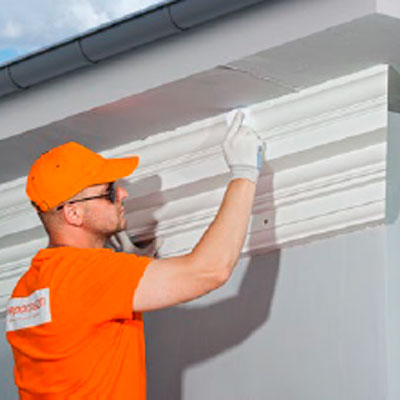
Attach the item to the mounting spot.
Firmly press the item to the wall and the ceiling,
and mark the wall along the bottom edge
of the product.
-
Strike a line with a chalkline connecting the marks.
-
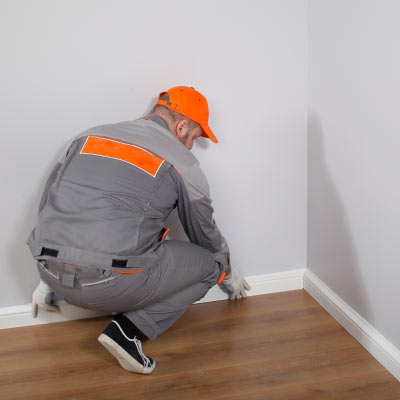
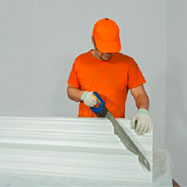
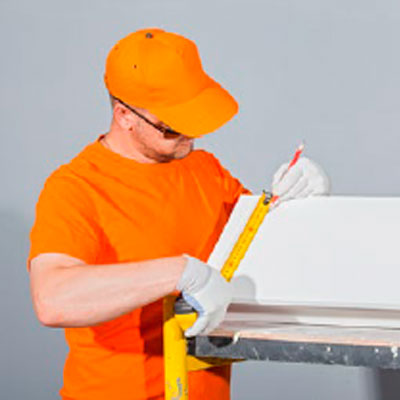
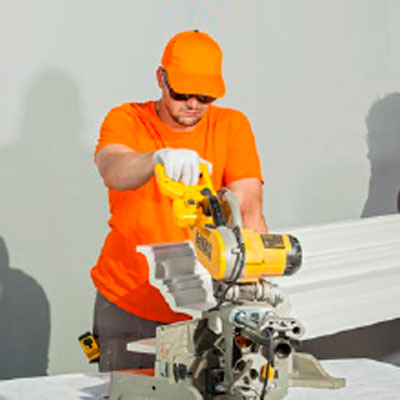
Using an adjustable square,
measure the angle of the building.
-
Using a mitre saw adjusted to the appropriate
angle, make a cut into the item.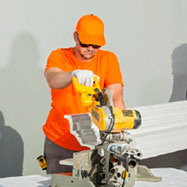
-
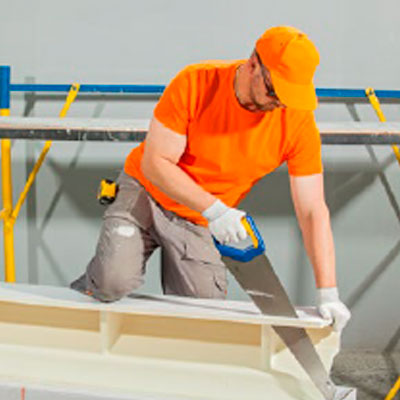
Finish the cut with a hand saw.
-
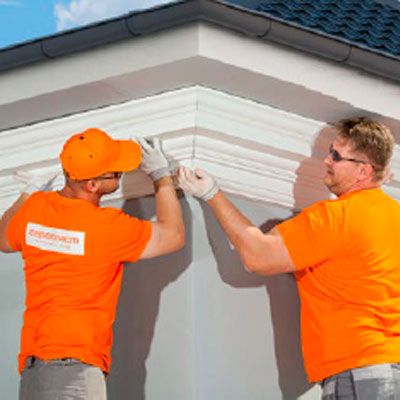
Cut the next item.
-
Check that the item‘s pattern and profile match.

-
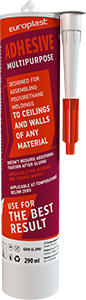
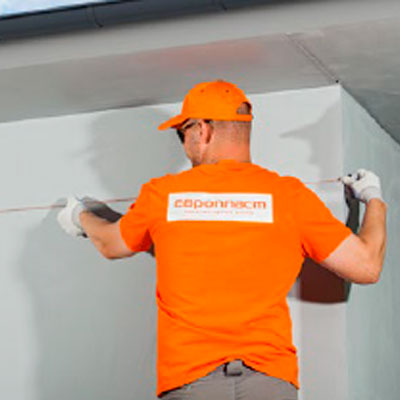
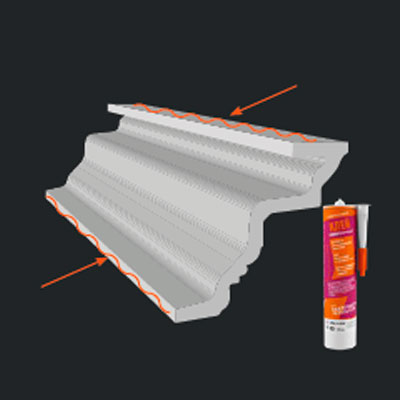
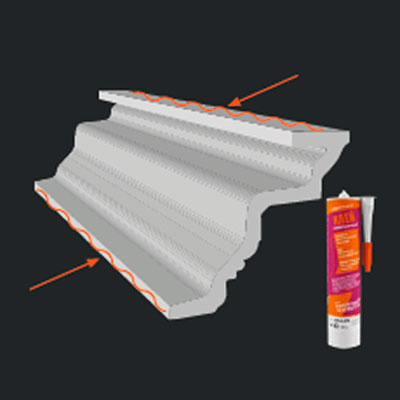
Evenly spread Evroplast Multipurpose Adhesive
along the entire item. The layer
of adhesive should be 3–5 mm thick.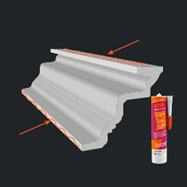
-
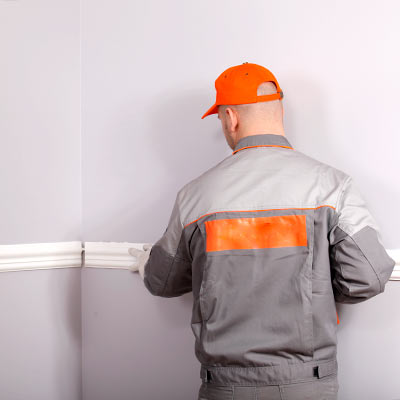
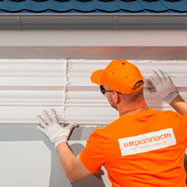
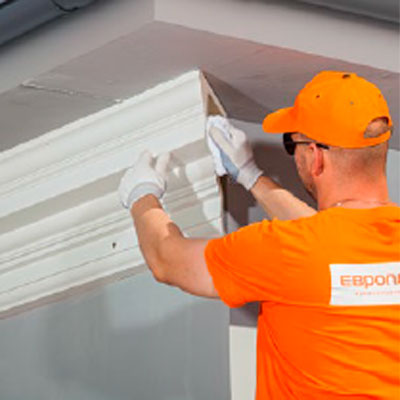
Place the item to the mounting spot, according
to the markings on the wall. Press the item
along the entire length hard enough
to make the adhesive exude from the joint.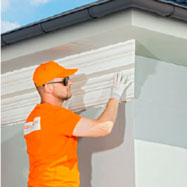
-
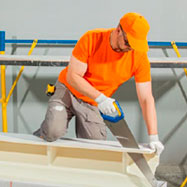
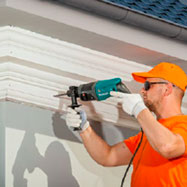
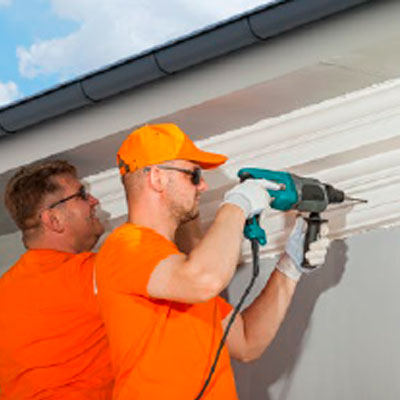
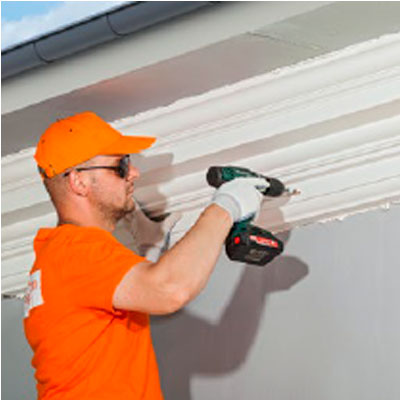
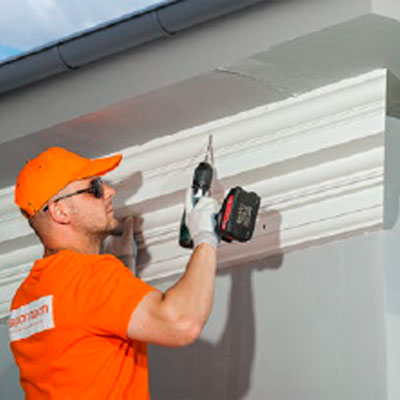
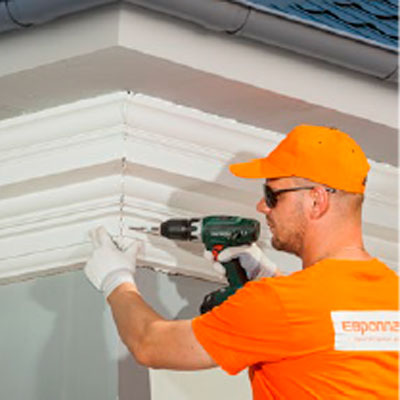
Use a perforator to make holes
for impact anchors spaced at ~600 mm.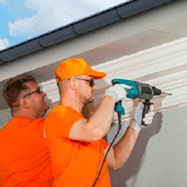
-
Fix the item in place with impact anchors.

-
Use a screw gun to drive the impact
anchors‘ heads into the item – 2 mm deep.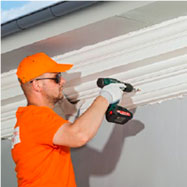
-
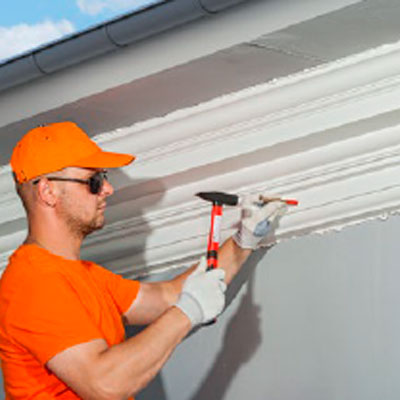
With the screw gun and a self-tapping screw pull
the upper part of the item and sink
the screw‘s top 2 mm into it.
-
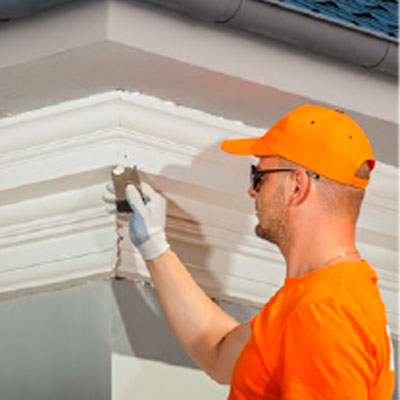
Immediately after putting in the self-tapping screws
remove excess adhesive with a palette knife.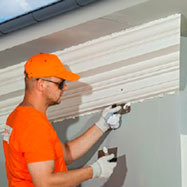
-
If necessary, rub the spots where the item touches
the surface with an acetone-soaked cloth.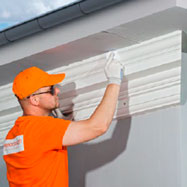
-
Use a moistened cloth to clean the butt ends
of the adjoining items from dust and other dirt.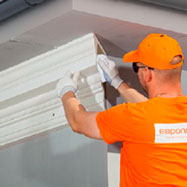
-
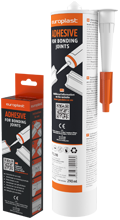
Put the Evroplast Adhesive for bonding joints
on the free end of an already-mounted item.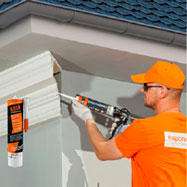
-
Spread the Evroplast Multipurpose Adhesive
along the entire next item to be mounted
(on the surface to be attached).
The layer of adhesive should be 3–5 mm thick.
-
Attach the item to the mounting spot.
Press along the entire length hard enough
to make adhesive exude from the joint.
Sliding the item along the wall,
press it against the neighbouring item
so that adhesive exudes from the joint.
-
Attach the joint with self-tapping screws.

-
Continue assembly by repeating steps 10–15.
-
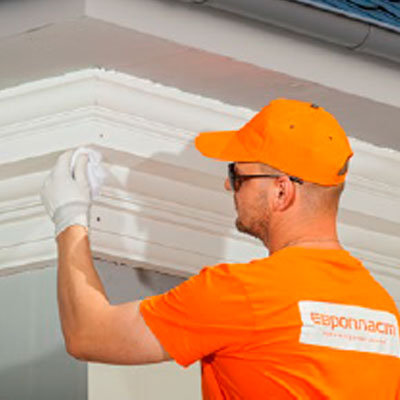
Remove excess adhesive with a palette knife i
mmediately after gluing.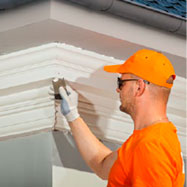
-
Rub the joint with an acetone-soaked cloth.
-
Continue to the next item.
-
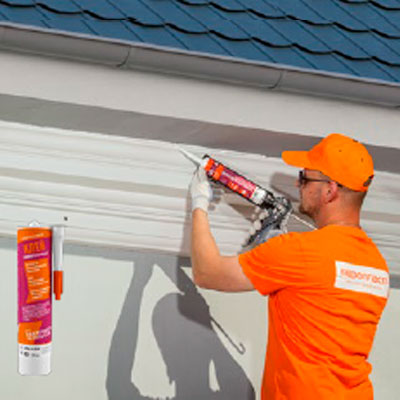
In places where an item abuts the surface
and no adhesive has exuded from the joint,
fill the gaps with more adhesive.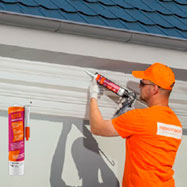
-
Use acetone and cloth to remove extra adhesive.

-
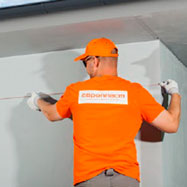
Wait 3 hours and apply soft sand paper
to the joints for an even surface.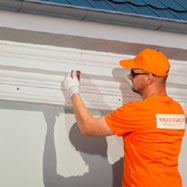
-
Apply putty to the treated spots and over
the heads of screws — use automotive putty.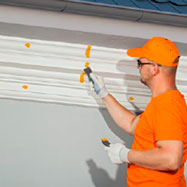
-
After the putty has dried, polish the treated
spots and filled screw holes with soft sand paper.
If necessary, repeat step 28.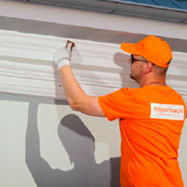
-
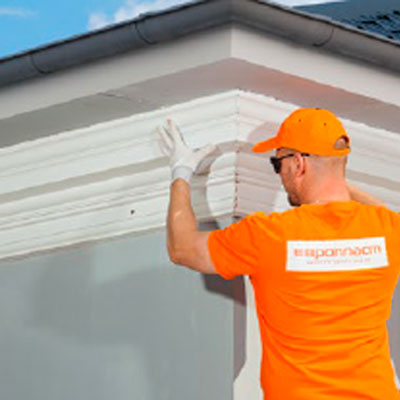
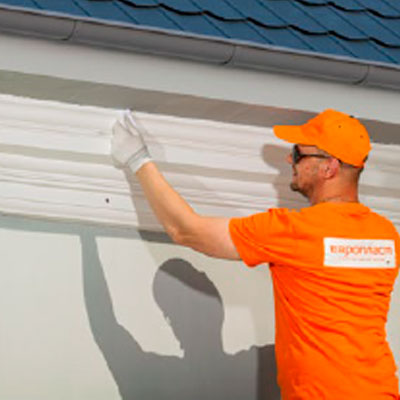
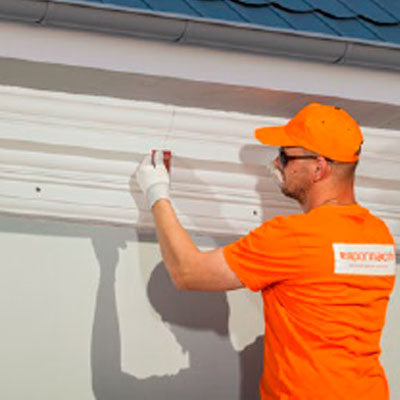
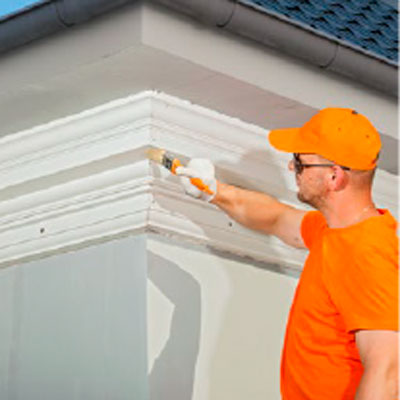
Consult paint manufacturer instructions
and paint the mounted items starting
from the corner of the building.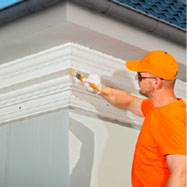


-
View:
- 1 - 8
- 9 - 16
- 17 - 24
- 25 - 30
- All